Skip to content
Evergreen Chimney Experts

Projects

Real jobs, photographed from the same spot before and after. Drag the handle.

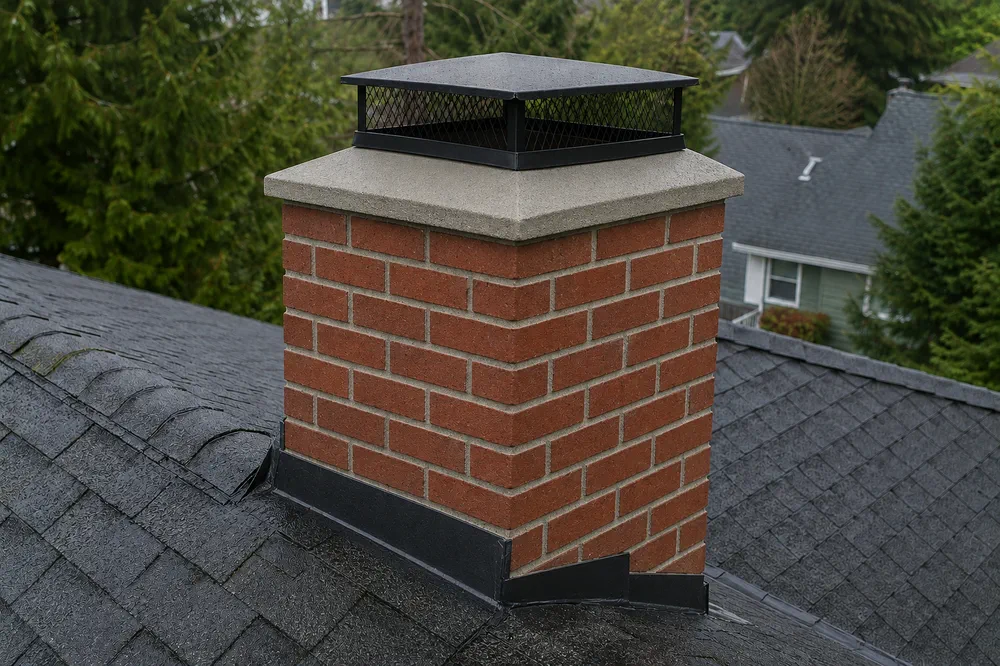
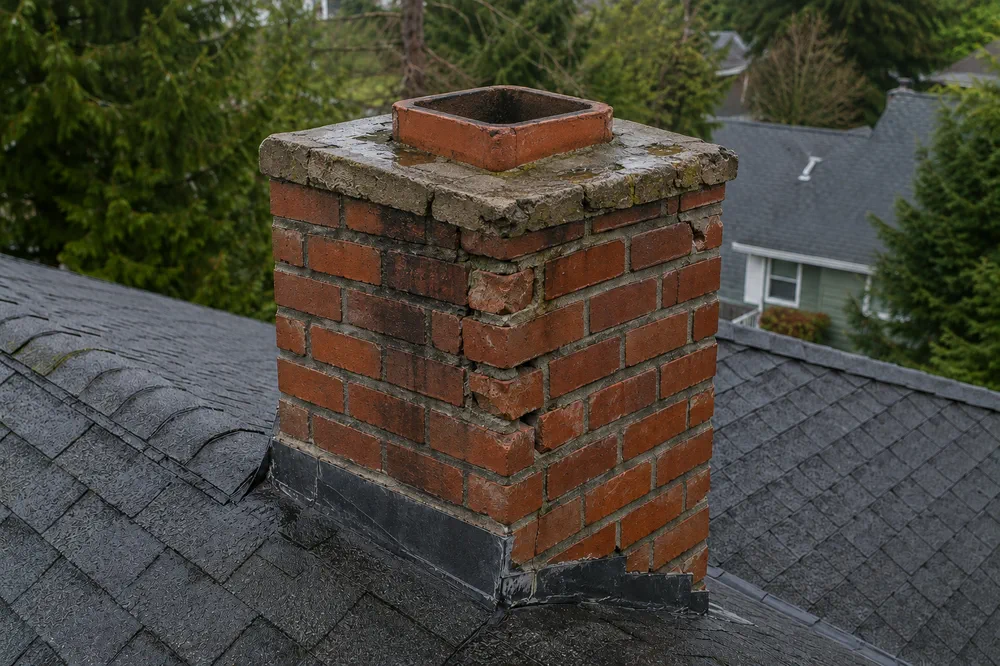
Crown rebuild and new cap

The crown had cracked through and the cap was long gone, so every storm was going straight down the flue and into the masonry. The brick had already started to spall along the south face. Rebuilt crown with a proper overhang and drip edge, new stainless cap.

Before: cracked chimney crown, spalling brick and no cap After: rebuilt crown and a new stainless steel chimney cap Before After

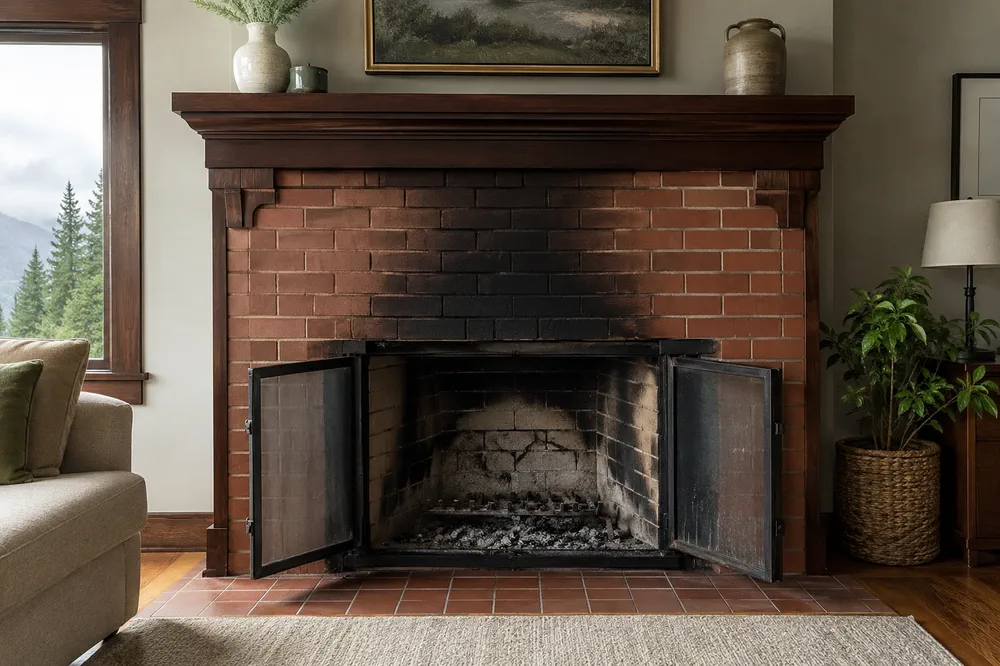
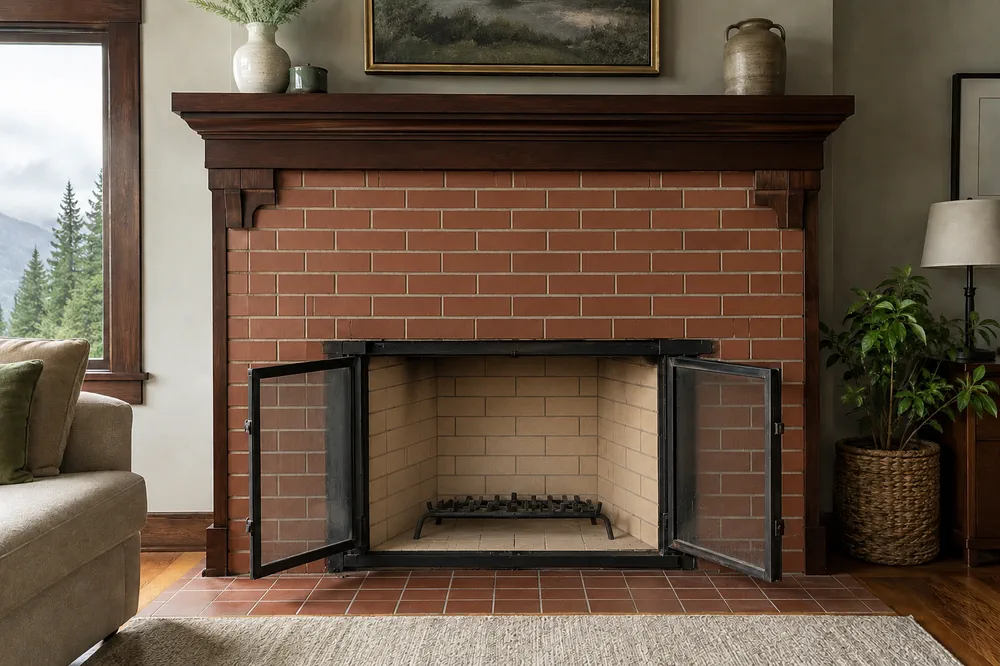
A season of wood fires, swept

Nothing structural on this one — a firebox and surround that had done their job all winter. Degree 2 creosote in the flue, brushed out, firebox and smoke shelf cleaned, damper cleared. This is what a standard sweep looks like from the living room.

Before: firebox and surround blackened with soot After: the same firebox clean, with the brick colour visible again Before After

What we found

These are the findings that come up most often on Puget Sound houses. None of them is exotic. All of them are cheaper the year you catch them.

Crown cracked by moistureWater sits on the top slab, freezes, expands. Every winter widens it.
Missing or failed capThe cheapest part on the chimney and the one preventing the most expensive damage.
Heavy creosote accumulationUsually a long gap since the last sweep, or wood that was not seasoned.
Improper flashingThe ceiling stain that gets blamed on the roof. Often previously “fixed” with roofing tar.
Cracked clay linerInvisible from below. Found during a sweep, or after a chimney fire.
Unsafe clearance to combustiblesCommon where a stove was installed by a previous owner without a permit.

Space for your own photos

This gallery is built to grow. Send us before-and-after pairs shot from the same spot — same position, same framing — and they drop straight in.

A safer chimney starts with an honest look at it.

Booking takes a minute. Peak season here runs September through November.